The Allied Ship That Gathered All Its Firepower for One Epic Shot
24:04
HMS Nelson - Guide 108 (Extended)

13:55
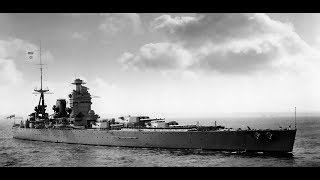
The Submarine That Proves Japan Went Too Far
29:38
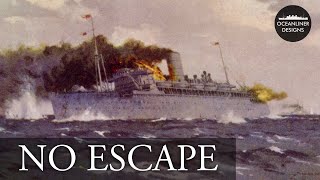
The Heroic End of HMS Rawalpindi and HMS Jervis Bay
27:17
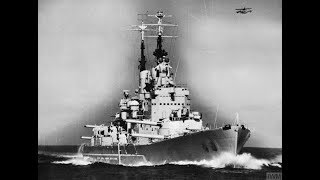
HMS Vanguard - Guide 132 (Extended Look)
11:22
How the Bismarck Was Sunk

43:15
Epopeja Bismarcka - Odcinek 3 - Przeciwnicy: HMS Rodney

10:01
A Deadly Trap - The Italian Navy Massacre at the Battle of Cape Matapan

50:52