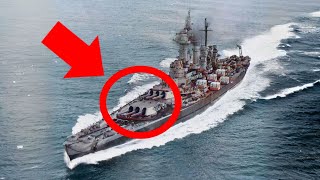
The Allied Ship That Gathered All Its Firepower for One Epic Shot

50:52
HMS X1 - Optimal Sub or Sub Optimal?

13:55
The Submarine That Proves Japan Went Too Far

15:53
The Revenge Flying Beast That Completely Fooled Germany

14:46
The One Battleship Shot that Prevented America's Massive Defeat

30:38
How They Salvaged Pearl Harbor: The 'Zombie Battleship' (2/4)

14:02
The Giant Revenge Battleship with a Unique Mind-Blowing Mission

29:38
The Heroic End of HMS Rawalpindi and HMS Jervis Bay

24:04