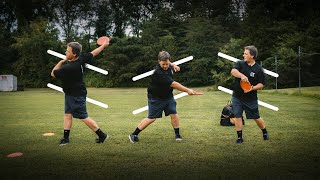
The Disc Golf Walk Up - Step by Step

5:02
Controlling Backhand Release Angle

13:36
The #1 Reason You Struggle to Brace (imo)

11:58
How to Coil Your Shoulders for Maximum Distance Potential

12:38
7 Most Common Forehand Killers
8:40
Up, Up, Down, Up - The Cheat Code for Hip and Shoulder Coil

20:06
My Disc Golf Journey from 250ft to 400ft (75 - 120m)

33:13
Two Form Theory - Disc Golf Backhand Pro Form and Beginner Form

17:16