3D Printing Basics: Understanding and Managing Support Material
19:37
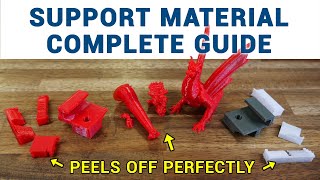
Support material complete guide for 3D printing
9:25
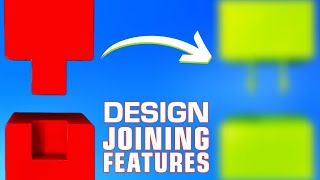
Joining Features | Design for Mass Production 3D Printing
20:36
Size isn’t everything - 4 ways to print LARGE parts with a 𝘀𝗺𝗮𝗹𝗹 3D Printer!
4:33
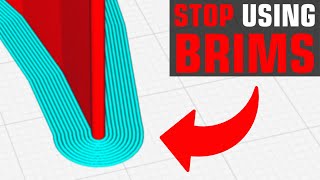
Stop Using Brims, Do This Instead

15:21
When support material fails... I do this. #3DP101

8:22
How-to Design Print in Place Hinges | Design for Mass Production 3D Printing
13:42
3D resin print supports [EASY GUIDE]

11:49