Ataru Form 4 | Lightsaber Choreography Tutorial
8:06
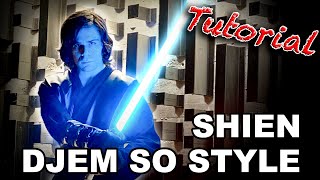
Form 5 | Lightsaber Choreography Tutorial | Shien Djem So
10:30
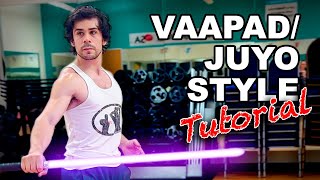
FORM 7 | LIGHTSABER CHOREOGRAPHY TUTORIAL | Juyo Vaapad

8:01
Form 6 Niman | Lightsaber Choreography Tutorial
4:51
Lightsaber Form VI : Niman

3:38
Lightsaber Form VII : Juyo variant
4:01
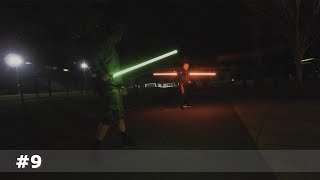
Epic Lightsaber Battle 9

8:28
Why Obi-Wan Changed His Lightsaber Form to Fight Vader [Why It Worked] - Star Wars Explained

5:02