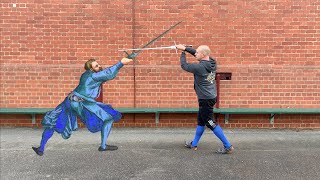
19th Century Sabre : Opportunity, Protection, & Threat

23:14
Joachim Meyer's Sidesword: Parrying Techniques Part III - Observations & Heuristics

10:13
Hutton's Sabre Parrying: Response to Criticisms

7:28
19th Century Sabre: Understanding Feints

5:26
19th Century British Sabre Fundamentals - Basic Footwork

21:15
Effective Zufechten: Time, Measure, Advantage

10:55
The longsword duel from THE KING is on point.

4:58
Historical fencing: 3 rules for parrying with a military sabre
4:54