How To Select The Right Bushing For A Full Length Bushing Die

13:21
Understanding Neck Clearance and Neck Tension: Basics to Advanced

12:27
Redding Type S Full Length Bushing Die: How to Set Up and Size Cases

14:37
Reloading Tools You Need and Tips for Perfect Rounds

10:39
Your Die Bushing Matters! - Choose the correct Die Bushing

14:36
How (and why) to Measure COAL and CBTO; an EXTREME RELOADING Special Edition
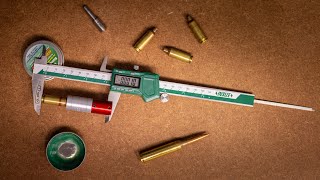
11:29
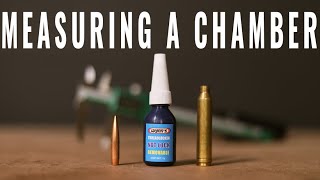
How To Set Up A Full-length Sizing Die Perfectly

13:54
Setting Neck Tension for Precision Handloading - Case Neck Tension vs Performance
12:33